Here are some tips and pictures for building the One Meter Soling.
|
I have been receiving many inquiries as to the fittings I installed on my Soling and the paint used as well. Here is that information and some other building tips.
|
|
General Construction |
| I built my Soling kit following the instructions for the most part. I built mine with the keel to be removable, and I have not had any problems with water leaking. I did waterproof the keel trunk with a clear water proof epoxy sealer I obtained from Woodcraft. Additionally, after gluing the keel trunk to the hull, I poured West System epoxy into the hull around the keel trunk to both strengthen and waterproof the joint. This pouring is about 3/16" deep, and is the same epoxy I used to build the keel. |
| It is very important to prepare the PS hull and keel material by sanding the areas to be joined. This changes the surface tension of the plastic to that the epoxy resin can "wet out" properly and adhere. Failure to do this will result in a very weak bond. |
| For bonding of styrene to styrene, I used methylene chloride bonder which actually welds the styrene together and gives a highly superior joint than the normal Testors, or other model kit building "glue". You can find this here at Tower Hobbies. |
| For gluing wood to styrene I use cyanoacrylate glue (super glues). This is also used to glue the mast scarf joint, and the keel trunk components. I like JET and Tower Hobbies "BUILD-IT" glues. |
| While taking about cyanoacrylate glue, it is very important to NOT USE butyrolactone CA glue debonders on the styrene plastic parts in the kit. The butyrolactone attacks the plastic and will make in very brittle and weak. |
| To fill the joint where the transom meets the hull I used automotive "Bondo" brand filler. |
Fittings |
| All of the fittings were purchased from Great Basin Model Yachting. |
| The stay turnbuckles and diamond stay tensioner are item #907 Single Rigging Screw with Swivel Hook 2/pack $8.95 ea. The swivel hook on the stay tensioner turnbuckle has been shortened slightly and re-bent to center the turnbuckle on the mast. |
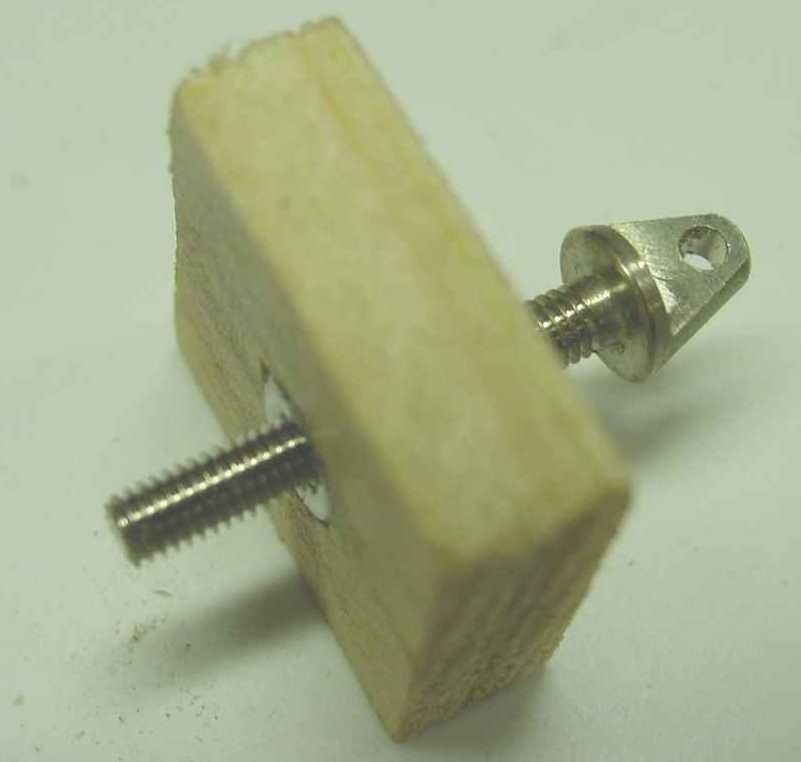
| All of the screw eyes supplied with the kit to attach to the deck have been replaced by item #144 Eyebolt, Deck Mount 3 M x 15 mm $1.66 ea. These are supplied with a nut and flat washer to attach the eye to the deck. To facilitate installing the eyes after painting, I first drilled a through hole the diameter of the eye bolt thread, and then counter bored a hole in the backing block of wood supplied in the kit for the screw eyes a bit smaller than the diameter of the nut supplies with the eye bolts. I then pressed the nuts into the counter bore and applied a bit of CA glue. The block can then be glued to the inside of the hull, aligned with a hole pre-drilled in the hull. |

|
|
The original stay wires were replaced with 7 strand stainless steel wire which I purchased from Climate Boat Works.
|
Paint |
| The paint I used for my Soling is Chevron polyurethane which I purchased from Tower Hobbies. I normally use a Badger 400 touch up spray gun for this type of project, but I was somewhat in a hurry to complete the boat at the time, and one of the colors I intended to use was out of stock, so I decided to use their spray can product. |
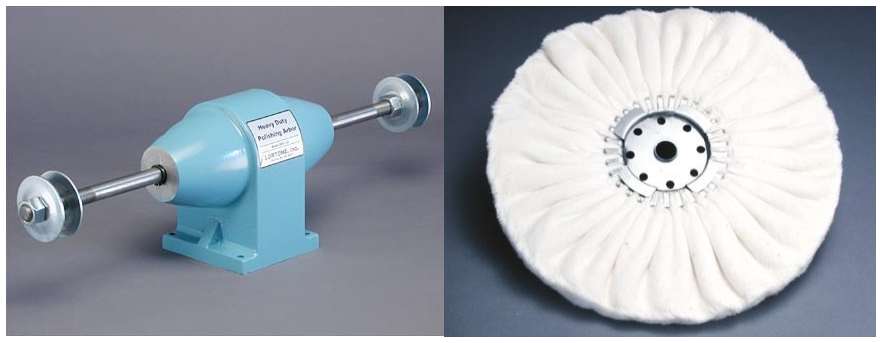
| Preparation of the hull included filling with automotive Bondo, and then a light sanding with 600 grit paper. One coat of primer was spayed on and followed by 600 grit paper. The boat has two coats of color, and one coat of gloss clear on top. The color coats were wet sanded with 600, and then 900 wet/dry paper. The clear coat was wet sanded with 900 grit wet/dry paper and the buffed. I used 1600, 3000, and then 4000 grit buffing compound applied with 12" cloth power arbor buffing wheels. This is the setup I use to finish polish the guitars I build and repair, and results in a very nice finish. |
|
The mast and booms are painted with Krylon primer and gloss black.
|
Servo |
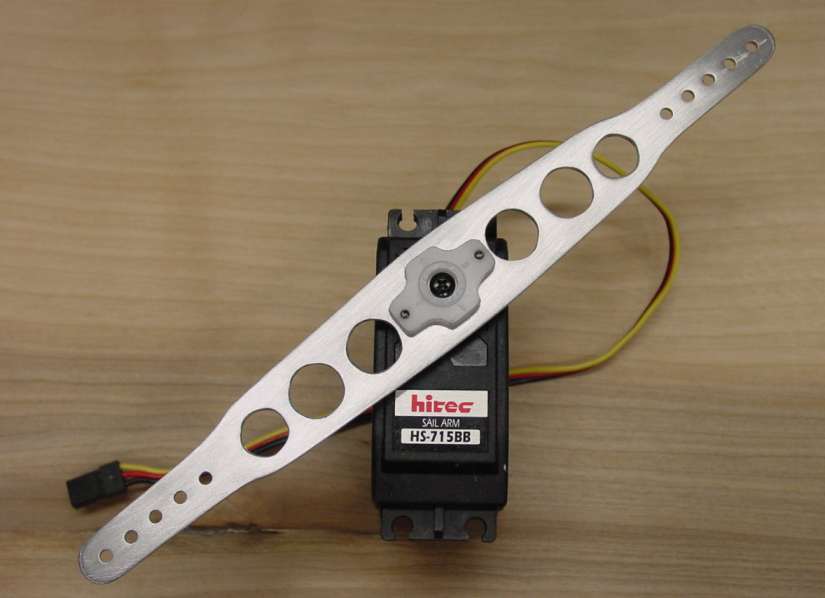
| My original Soling utilized the Hitec 715BB Sail Arm and the included 4.25" control arm. I have found however, that this servo does not have quite enough travel to fully extend the sheets. The simplest fix would be to install a Hitec 815BB servo which has 140 degrees of travel compared to the 90 degrees of the 715BB. The cheaper (and lighter) solution is to increase the travel of the 715BB to about 170 degrees using the instructions which can be found here. To me this is the preferable solution as the 815BB is about 1.77 oz heavier than the 715BB, and uses more power. From my experience the increased torque which the larger 815BB supplies, is not really needed in the Soling. |
|
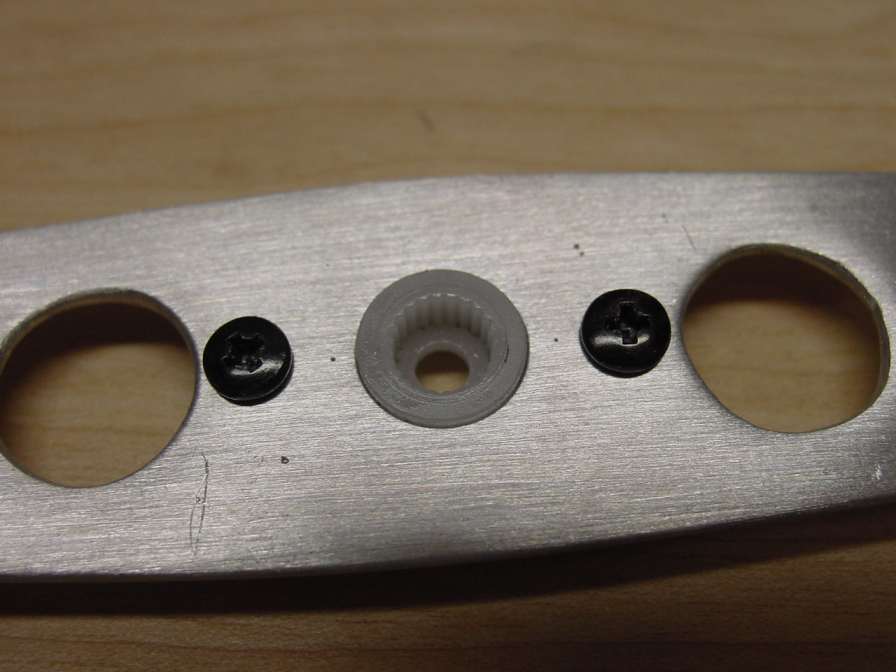
I am also changing from the Hitec supplied sail arm to a double ended aluminum arm which I fabricated from 1/16" aircraft aluminum. The aluminum arm is attached using the 1-11/16" X-shaped arm that ships with the 715BB servo. It has been trimmed down to reduce weight and attaches with self tapping screws. The finished weight of the assembled aluminum arm is 0.38 oz. This is only slightly more than the 0.34 oz of the stock Hitec plastic sail arm which ships with the servo. Here is a PDF of the drawing file for the arm. 
|
 30 KB |
 43 KB |
 35 KB |
 American Model Yachting Association |
Under Construction....Check Back Soon